
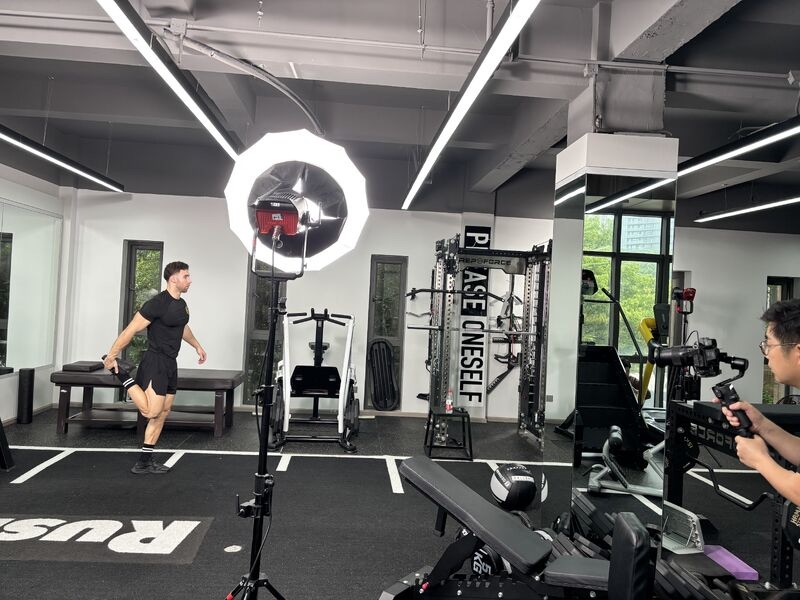
For this client project, Aupeak coordinated a fitness-product shoot in China—connecting the brief, product, location, model and photography team on one working day. The useful lesson is simple: strong product images are created through preparation and control, not only a good camera.
Start with the commercial purpose, not the camera
Before booking a photographer, define where the images will be used and what decision each image should help the customer make. A marketplace main image, a product-detail page, a social advertisement and an instruction graphic all need different framing, backgrounds and file formats.
For the fitness shoot, the product needed to look credible in use. That meant planning a suitable gym environment, an athletic model, clear movement and enough visual space for later layouts. The location was part of the product story, not just a convenient room.
- Main listing images that identify the complete product clearly.
- Detail images for materials, adjustment points, controls and construction.
- In-use images that demonstrate scale, posture and the intended exercise.
- Assembly or setup images when the buyer needs additional explanation.
- Landscape and portrait compositions for websites, marketplaces and social media.
Write the required images as a checklist before shoot day. A mood board helps with style, but it does not replace a deliverable list.
Make the sample camera-ready before the crew arrives
The photographed unit should represent what the customer will receive. Confirm the final colour, logo, surface finish, included accessories and visible hardware before the shoot. Temporary samples can be used, but every known difference should be documented so it does not accidentally appear in launch materials.
Inspect and clean the product in advance. Check assembly, stability, moving parts and any functions the model will demonstrate. Bring replacement components, tools and cleaning materials when small adjustments may be needed on location.
- Approved product version and correct branded parts.
- Complete accessories, packaging and instruction materials required in the shot list.
- Cosmetic inspection for dust, scratches, fingerprints and protective film.
- Functional check before any model or photographer handles the product.
- A backup unit or spare high-risk components when practical.
Coordinate the product, people and place as one plan
A lifestyle shoot depends on several schedules at once. The model must suit the target customer and be able to use the product safely. The photographer needs enough room, power, lighting control and time to change angles. The location must allow equipment movement and should not introduce distracting brands or background activity.
A simple call sheet keeps the day organised: address, arrival times, contact details, product list, shot sequence, wardrobe, props and approval owner. It also identifies who can make a decision when a planned angle or movement does not work.
Show the product being used correctly
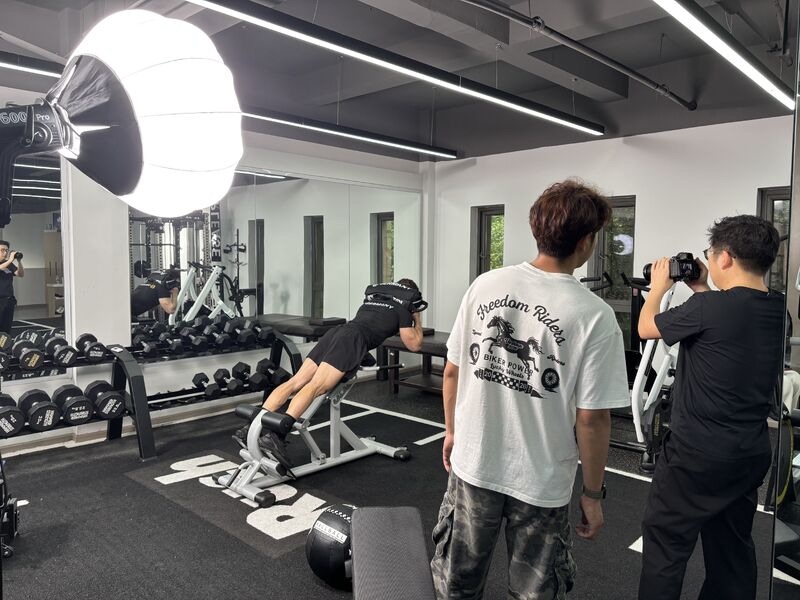
Lifestyle content should make the product easier to understand. Incorrect posture, a missing safety step or an unrealistic setup can damage trust and may create avoidable risk. Provide the crew with the approved use method and have a knowledgeable person confirm the setup before the model performs the movement.
Capture both the full exercise and the details that explain it: hand placement, adjustment points, contact areas and the product's relationship to the user's body. The most attractive frame is not always the most informative one, so plan for both.
Review technical accuracy on set. Retouching can clean an image, but it cannot reliably correct the wrong product setup or user position.
Review critical images while the set is still available
On shoot day, Aupeak stayed close to the working process so product details, angles and requested use cases could be checked before the crew moved on. This local coordination matters when the overseas client cannot be present to answer every practical question.
Review a larger preview rather than relying only on the camera screen. Check focus, reflections, visible logos, product completeness, background distractions, model position and whether enough empty space remains for text. Mark approved frames and missing shots as the session progresses.
- Match every completed setup against the shot list.
- Capture safe variations before changing lighting or moving the product.
- Record product orientation and adjustments for visual continuity.
- Confirm both horizontal and vertical crops when multiple channels are planned.
- Photograph any packaging, accessories or detail references before wrapping.
Define the file handover before retouching begins
Agree which images will be retouched, how many revision rounds are included and whether the client receives high-resolution masters, web-ready exports or original files. File naming should connect each image to the product model and intended channel rather than a camera sequence number.
Usage rights also need to be clear. Confirm the intended territories, channels and duration for the photographer's work, the model release and any location restrictions. Keep those records with the approved image selection and final delivery.
- Selected image list and retouching notes.
- Colour profile, dimensions, resolution and file formats.
- Transparent-background or clipping-path requirements where needed.
- Naming convention by SKU, angle and channel.
- Photographer, model and location usage permissions.
- Secure storage for masters and approved web versions.
Why arrange photography before the product leaves China
When a production-ready unit is already in China, a local shoot can reduce the time and cost of sending samples abroad, particularly for bulky products. It also keeps the factory, replacement parts and product knowledge closer if the sample needs adjustment.
The timing still needs control. Photography should not delay the approved production sample or use a unit that will later be changed. A sourcing partner can coordinate the supplier, sample, studio and content team while the buyer retains approval of the visual direction and final assets.
Plan photography after the visible specification is approved and early enough that the final assets can support the product launch before the shipment arrives.